Build a Request Parser with Node and Express
The second final project in the freeCodeCamp Backend and API curriculum
Knowing how to build and work with APIs is a valuable skill to have as a developer. In this article, you will learn how to build a header parser microservice API using Node and Express.
Prerequisite
This article will assume that you already have some basic knowledge of the following.
- Node.js
- Express.js
- REST APIs
If you are an absolute beginner to building backend applications, I will recommend the freeCodeCamp Backend and API curriculum.
What is the Request Parser Microservice Project?
Spoiler Alert!
This project is the second of five projects in the freeCodeCamp Backend and API Curiculum.
In this project, you're required to build a microservice using Node and Express.
If you are taking the course, I recommend you first try building it on your own before you look at my solution.
Tests (or project requirements)
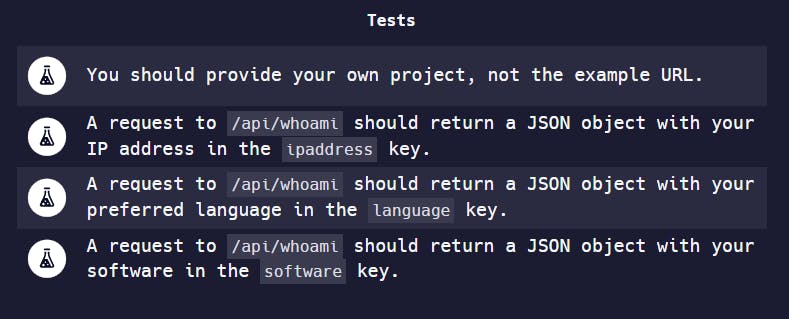
The project requirements are shown in the screenshot below.
There are four test cases that your project should pass.
The first is to submit a link to your own project.
The next three deal with handling requests to
/api/whoami. The request should return the following.ipaddresslanguagesoftware
Starter Template for the Project
For this project, you don't need to start everything from scratch. FreeCodeCamp provides a starter code to use.
If you want to work on the project locally, you can clone this GitHub repo to get started.
In the index.js, the server is already set up.
var express = require('express');
var app = express();

// ...
// Other starter code
// ...

var listener = app.listen(process.env.PORT || 3000, function () {
  console.log('Your app is listening on port ' + listener.address().port);
});
Handling API requests
In this project, you're required to handle get requests to /api/whoami.
app.get('/api/whoami', (req, res) => {

})
A request made to /api/whoami should return three things. These are the client's ipaddress, language, and software.
You can get all these from the request req object.
First, to get the ipaddress, you use the ip property of the req object.
const ipaddress = req.ip
Next, the language and software. You can get both from the headers property of the req object like so.
const language = req.headers["accept-language"]
const software = req.headers["user-agent"]
Now, you have all three items.
app.get('/api/whoami', (req, res) => {
  const ipaddress = req.ip
  const language = req.headers["accept-language"]
  const software = req.headers["user-agent"]

})
What is left is to serve them back as a response to the client. You do so using res.json
res.json({
    ipaddress: ipaddress,
    language: language,
    software: software
})
Since the name of the properties and values are the same, you can also write the above code like this.
res.json({ ipaddress, language, software })
And that's it! You're done with the request parser microservice project.
You can see the final code below. Of course, I did not include the starter code since it's available in this github repo
Final Code
app.get('/api/whoami', (req, res) => {
  const ipaddress = req.ip
  const language = req.headers["accept-language"]
  const software = req.headers["user-agent"]

  res.json({ ipaddress, language, software })
})
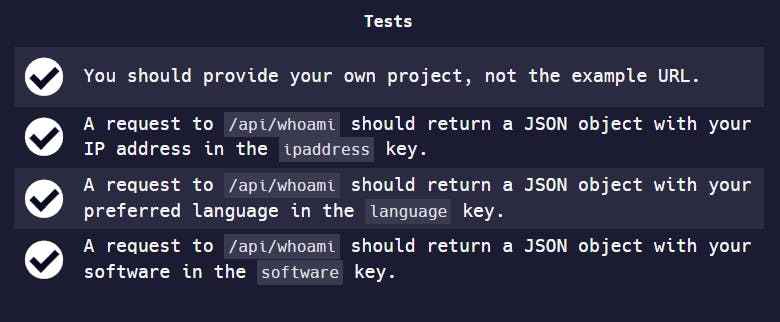
As you can see from the screenshot below, the code passes all the tests.
Conclusion
I deployed my version of the project on Render. You can click to view LIVE DEMO.
If you want to learn how to do that, you can check out this tutorial on hosting your Node application for FREE..
Also, If you've built the request parser microservice, I will love to see your solution. Share a link to your project in the comments below.

