How To Deploy Your Node.js Application For FREE With Render

I am a full stack developer passionate about web accessibility. When I'm not behind the screens, you'll likely find me reading or going for a 5K run.
In this tutorial, you will learn how to deploy your Node applications for free. And you will do so using a platform called Render. Okay, let's get started.
Getting access to the port
Your deployed application will run on a port Render assigns to it. Render sets this port randomly. You can use process.env.PORT to access the port like so.
const express = require('express')
const app = express()

// Your code here...

const listener = app.listen(process.env.PORT || 3000, () => {
  console.log('App listening on port ' + listener.address().port);
});
Step-by-step guide to deploying your Node app
To follow along, I would encourage you to have an application you would be deploying.
I would be using this GitHub repository. It's a simple API I built with Node. It returns a JSON object of the user's info like preferred language and software.
To get started, head over to the Render website and sign up. Choose your preferred sign-up option.
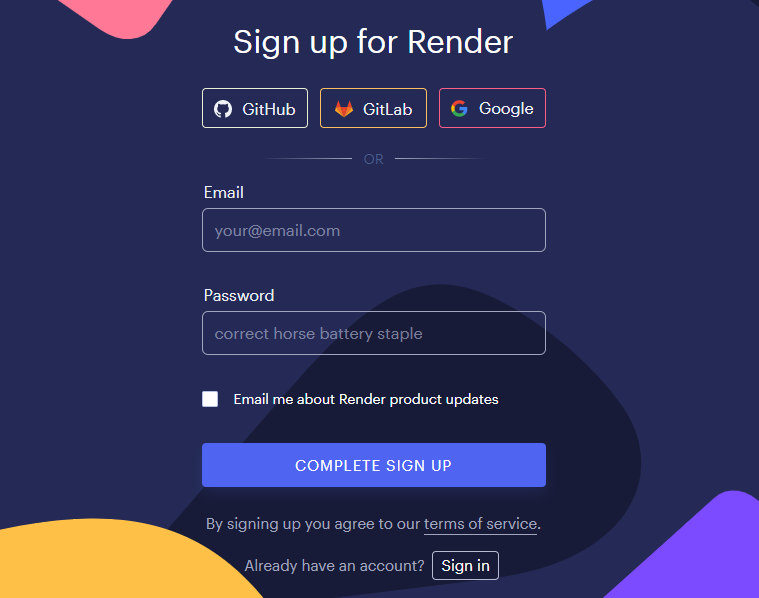
Complete the sign-up process and log in. You should see your Render dashboard.
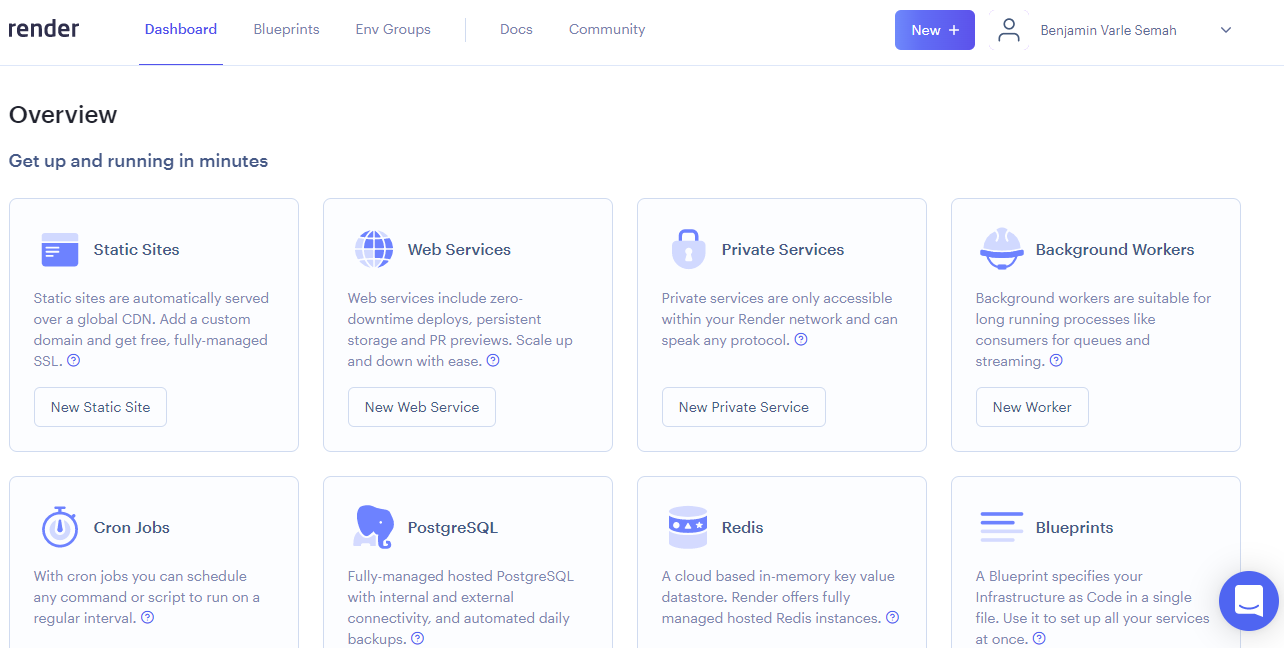
On the Web Services tab, click on the New Web Service button.
You can also use the New + button at the top right of the page. And select Web Service.
That will lead you to a page like the one below.
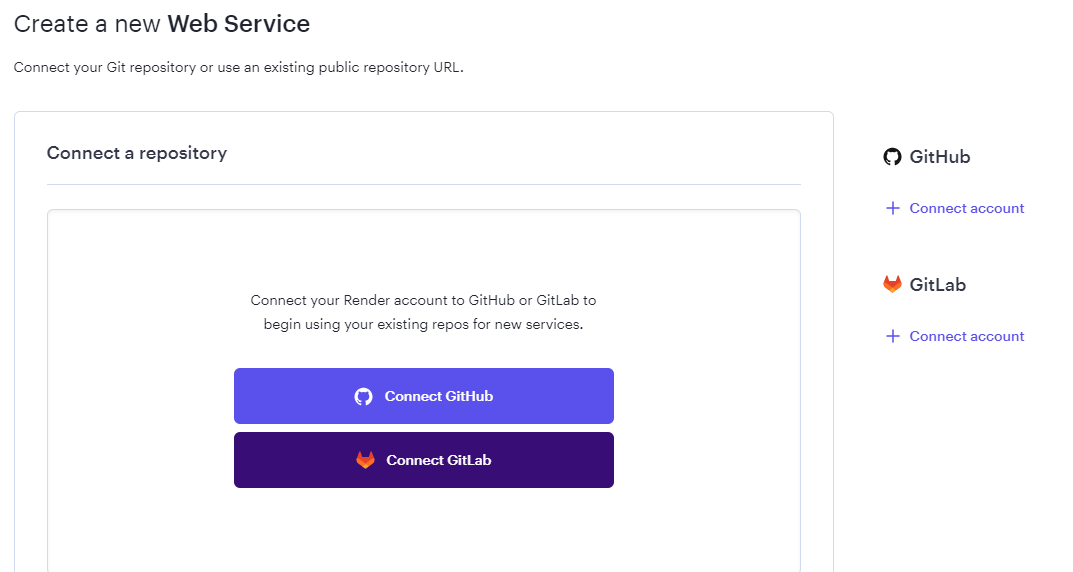
Click on the Connect GitHub button (if your source code is on GitHub). If it's on GitLab, choose the GitLab option.
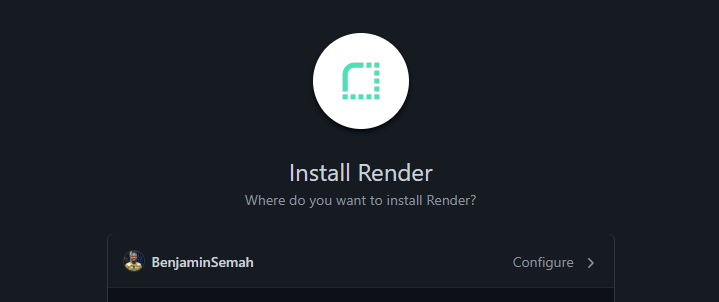
In my case, I will click on the Connect GitHub button. You'll be redirected to sign in to your GitHub account. Then, click on configure to continue the process.
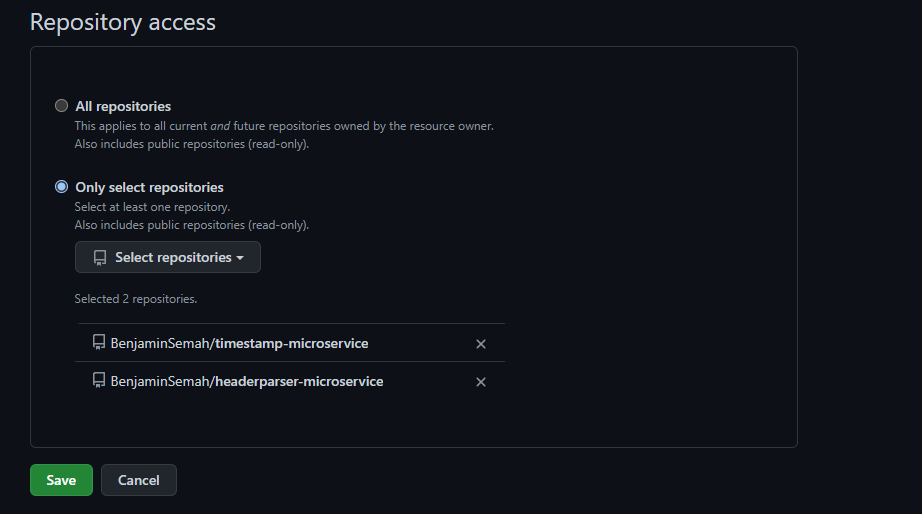
On the next page, when you scroll down, you will see Repository access. You have two options here. You can either grant access to All repositories or choose a specific repository with the Only select repositories option.
Click on the green save button.
You will be redirected to your Render dashboard. You will see the repository (or repositories) you selected.
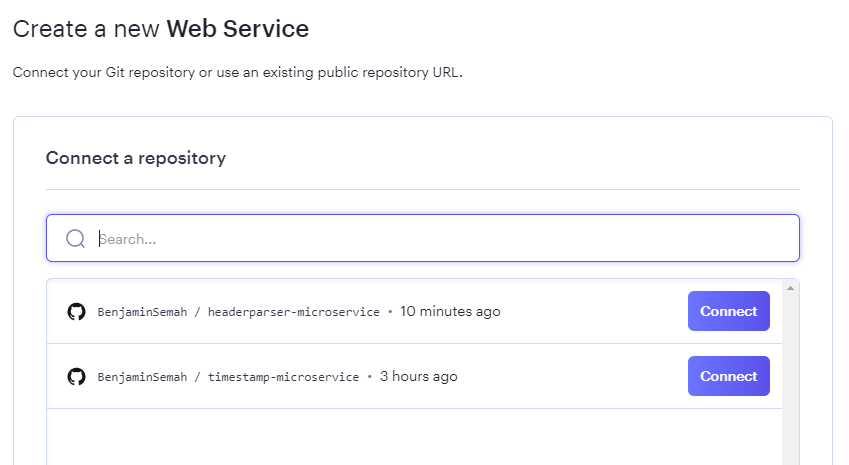
Render now has access to your repository. Click on the connect button next to the repository you want to deploy.
You should see a form where you will be required to provide details about your project.
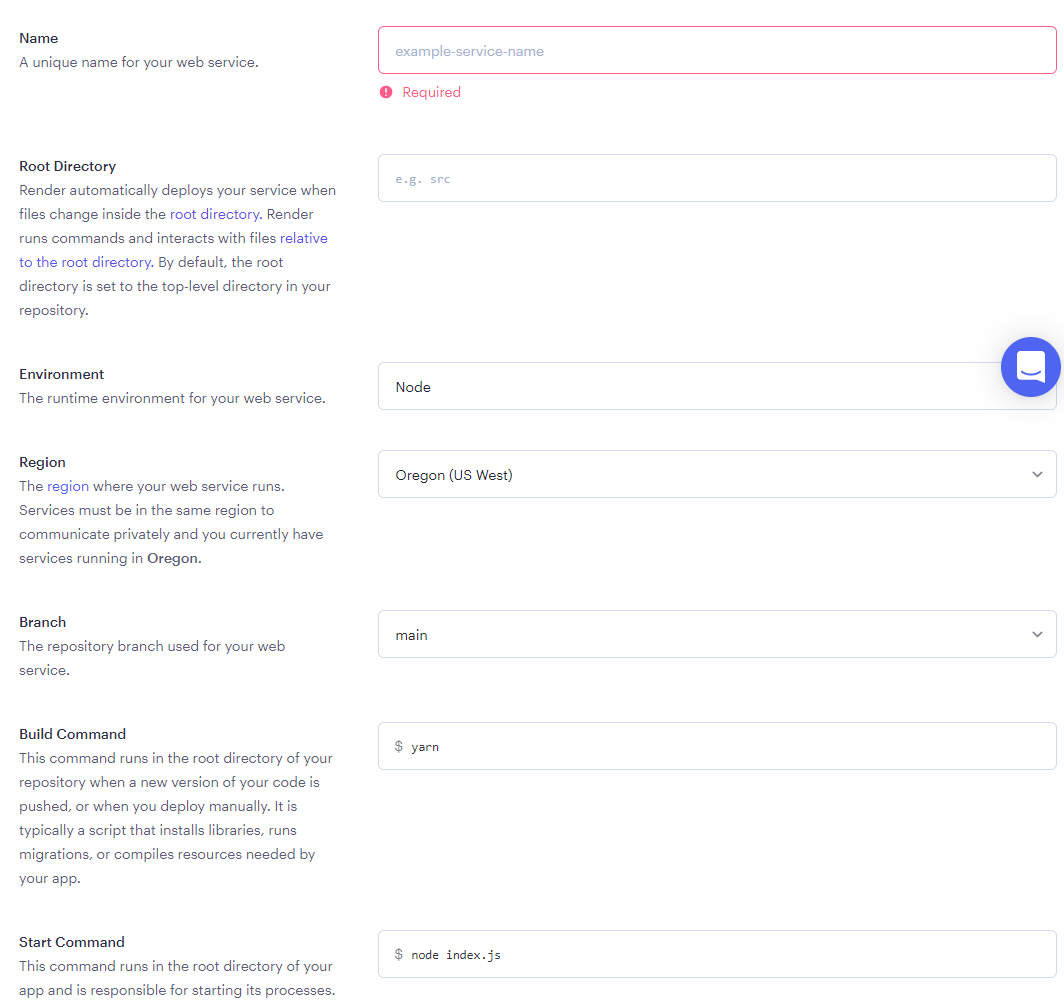
You need to fill in the following information.
Name. The name will form part of your deployed app's URL. So choose something short and meaningful. Your app's URL will be
[app-name].onrender.com.Root Directory. By default, this is set to the top-level directory in your repository. So you can leave it blank.
Environment. This tutorial assumes that you are deploying a Node app. So select
Node.Region. Leave it as it is.
Branch. In most cases, this should the
mainbranch of your repository.Build Command. Choose
yarn. Similar tonpmbut relatively faster.Start Command. Use
node index.js, assuming your entry file isindex.js.
If you scroll down, you will see the pricing options. Select the FREE tier.
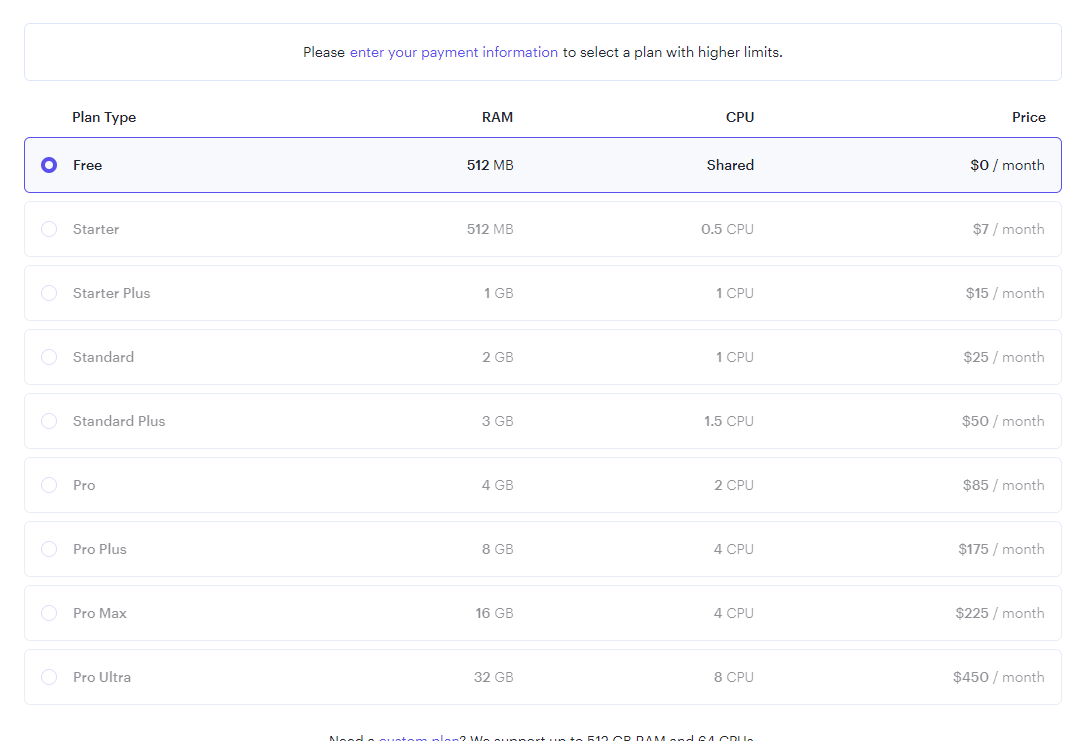
Scroll further down to click the Create Web Service button. This will start the deployment process.
You will see a button next to the date and time showing that deployment is In progress. See the screenshot below.
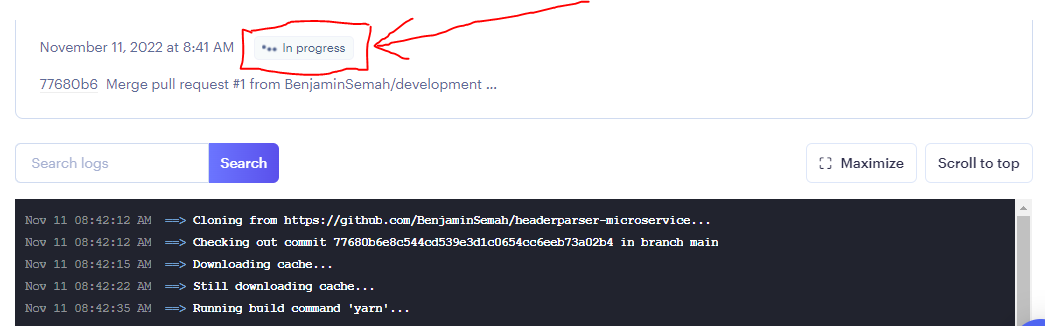
The deployment might take a few minutes. If it takes too long, you can refresh the page to check if it's done.
Once it's done, you will the In progress button change to a green Live button.
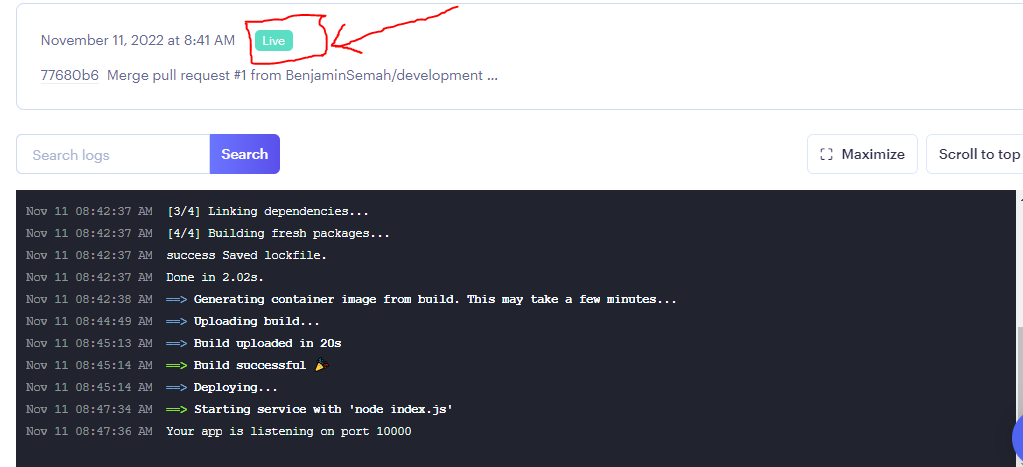
This shows the deployment is successful. And your Node application is now live on the internet.
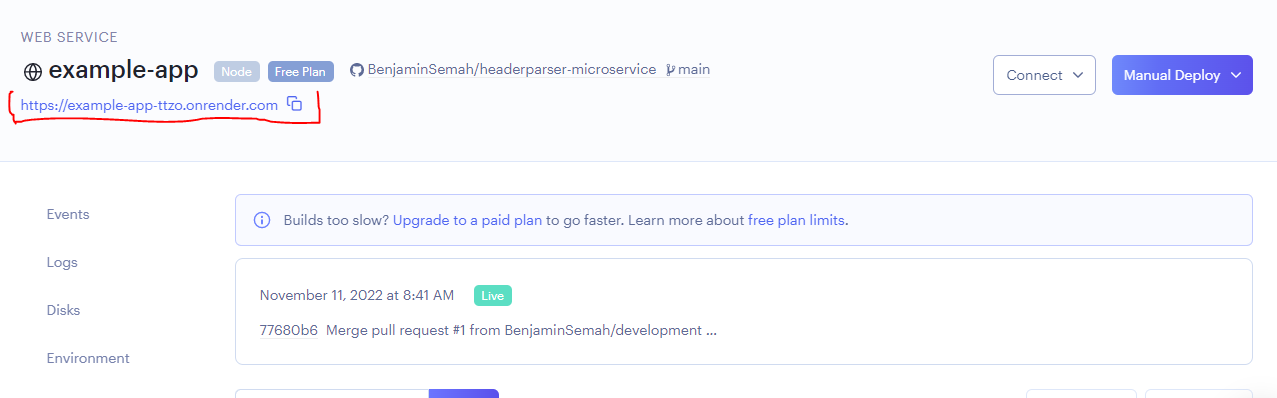
The link to your deployed application will be displayed at the top-left of the page (below your application's name). See the screenshot below.
If you see the green Live button and still see an error when you visit the page, wait for a while. And then refresh the page. Since you're using the free tier, it may take some time to load your application.
Below is a screenshot of the example app I deployed in this tutorial.
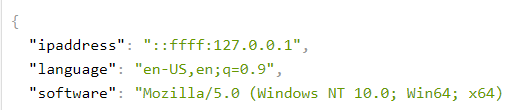
Click to view my deployed Node app.
If you want your JSON files to be formatted as in the screenshot above, you can add the JSON Viewer extension.
Note: When using Render's free tier, your application switches to sleep mode after every 15 minutes of inactivity. Your app will take a few seconds to load on the next request. For your students(or learning to code) projects, this shouldn't be a big deal.
Conclusion
Congratulations! You now know how to deploy your Node applications for free using Render. Thanks for reading!


